The iPhone settings that matter, a seven-step setup, and side-by-side photos of the three things that usually go wrong: the selfie lens, overhead light and too much Portrait blur.
By Miu, founder of HeyAIHeadshot · Published October 29, 2026
A recent iPhone takes a headshot good enough for LinkedIn, a company website or a résumé. What usually goes wrong is the setup, not the camera: the selfie lens, overhead light and a Portrait-mode blur turned up too far. Fix those three and the photo looks like it came from a studio. Menu names below are from current iOS; older versions may differ slightly.
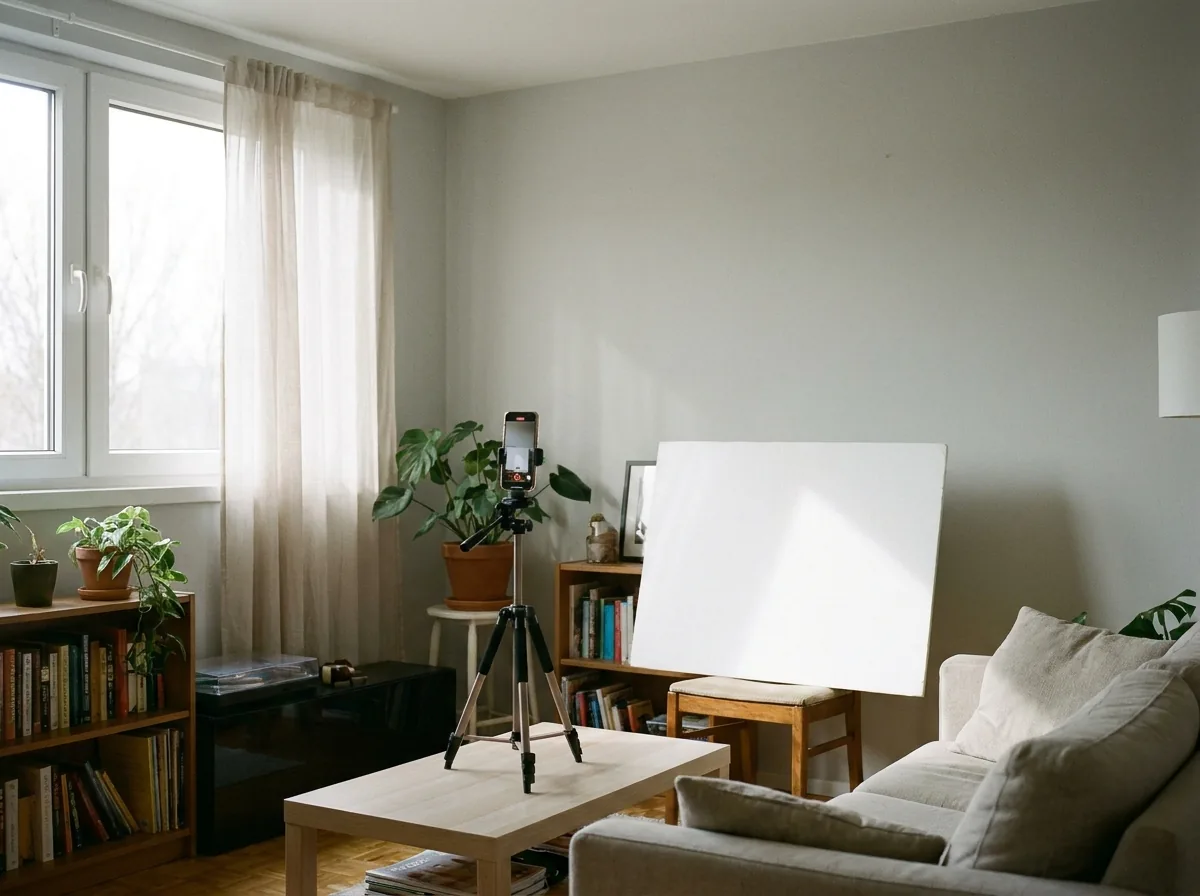
The whole setup: phone on a mini tripod at eye level, a plain wall about 1.5 m behind you, a window in front and a white board to soften shadows.
Best iPhone settings for a headshot
Camera mode
Portrait
Lens
2x where your model offers it; a longer Pro option if you have room to step back
Portrait Lighting
Natural Light
Photographic Styles
Standard (no warm or cool tint)
Grid
On: Settings > Camera > Grid
Flash
Off
Timer
10 seconds
Live Photos
On is fine: you can pick a better frame later
Format
Default is fine; choose Most Compatible if you need JPG files
How to take a headshot with an iPhone, step by step
Set up by a window. Stand 1–2 meters in front of a plain wall, facing a window. Turn off the room lights. The phone goes between you and the window.
Put the iPhone at eye level. Use a small tripod or a stack of books, with the lens level with your eyes or slightly above. Use the rear camera, not the selfie camera.
Open Camera and choose Portrait at 2x. Swipe to Portrait and tap the 2x option. Stand back until your head and shoulders fit with some space above your hair.
Turn on the grid and frame. Put your eyes on the top third line, centered left to right. Leave room at the sides so you can crop later.
Lock focus and exposure. Tap your face, then press and hold until AE/AF LOCK appears. Drag the sun icon down slightly if your skin looks too bright.
Trigger it without touching the phone. Use the 10-second timer, the Camera Remote app on an Apple Watch, or the volume button on wired earphones. Take several rounds and adjust your chin and shoulders between them.
Edit in Photos. Open the best shot, tap Edit, and set the depth (the f-number) to about f/2.8–f/4.5; lower numbers blur more, higher numbers look more natural. Then crop to 4:5 or 1:1 and adjust exposure lightly.
Rear camera vs selfie camera
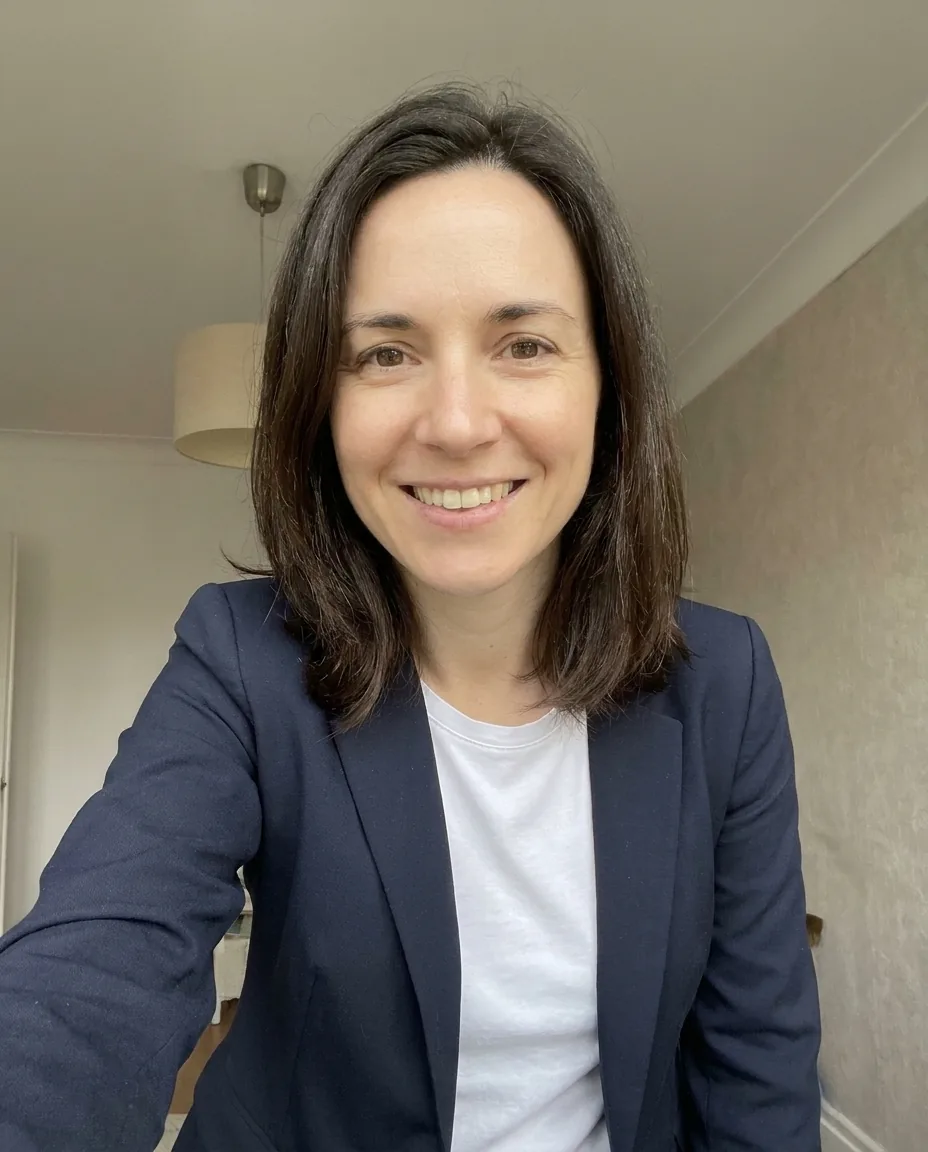
The selfie camera is wider and you hold it closer, which stretches the middle of your face. The rear camera at 2x, a meter and a half away, gives the proportions people see in person.
AvoidSelfie camera at arm’s lengthWide lens, too close: nose and forehead look bigger.
DoRear camera, Portrait at 2xFrom about 1.5 m on a tripod: natural proportions.
Getting Portrait mode blur right
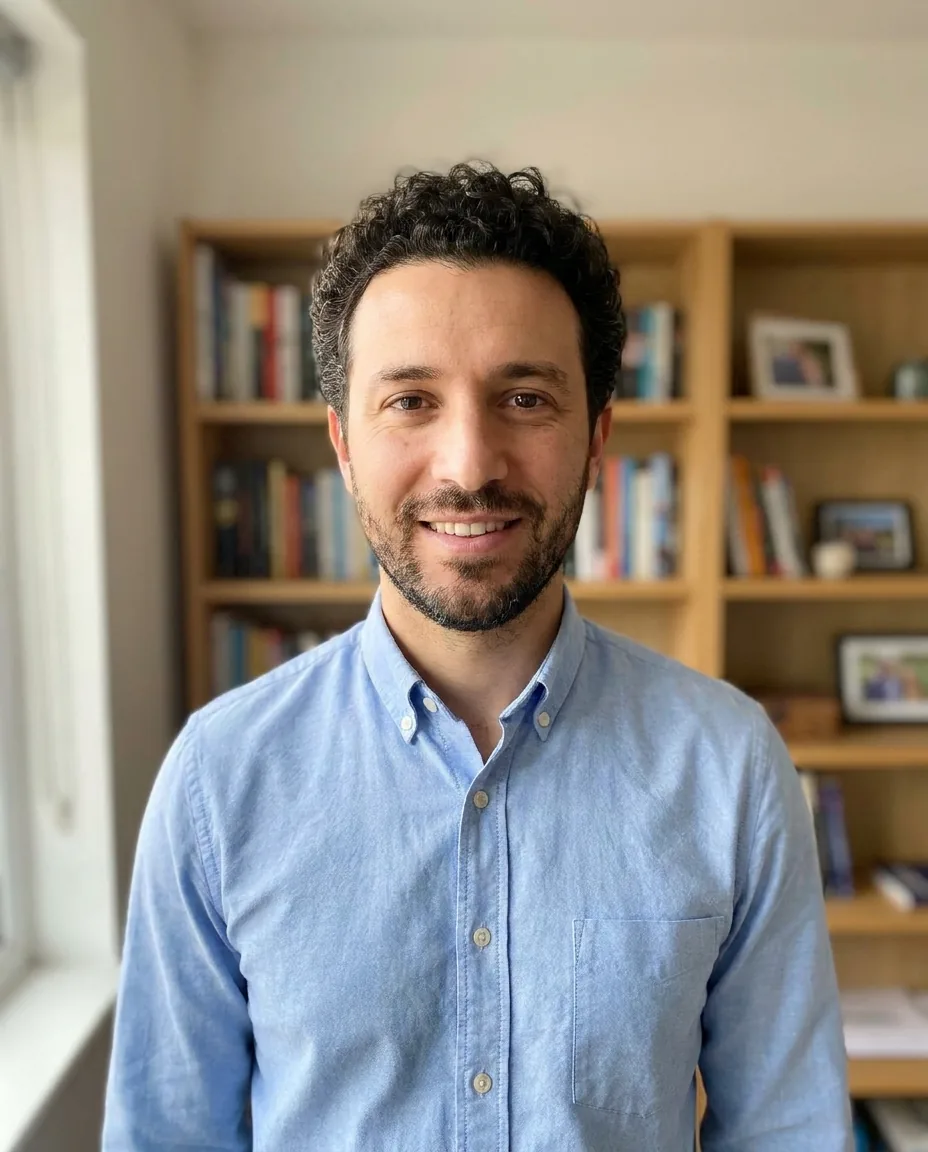
Portrait mode fakes a shallow depth of field in software. A little looks like an expensive lens; too much looks cut out, especially around curly hair, glasses and beards. You can change it after taking the photo: in Photos, tap Edit and move the f-number slider. Around f/2.8 to f/4.5 usually looks natural. The right-hand photo below is a simulation of what the strongest setting can do to hair edges.
DoDepth around f/4.5Background soft but real; hair edges intact.
AvoidDepth at the lowest f-numberFake-looking blur, halo and smeared curls.
Light
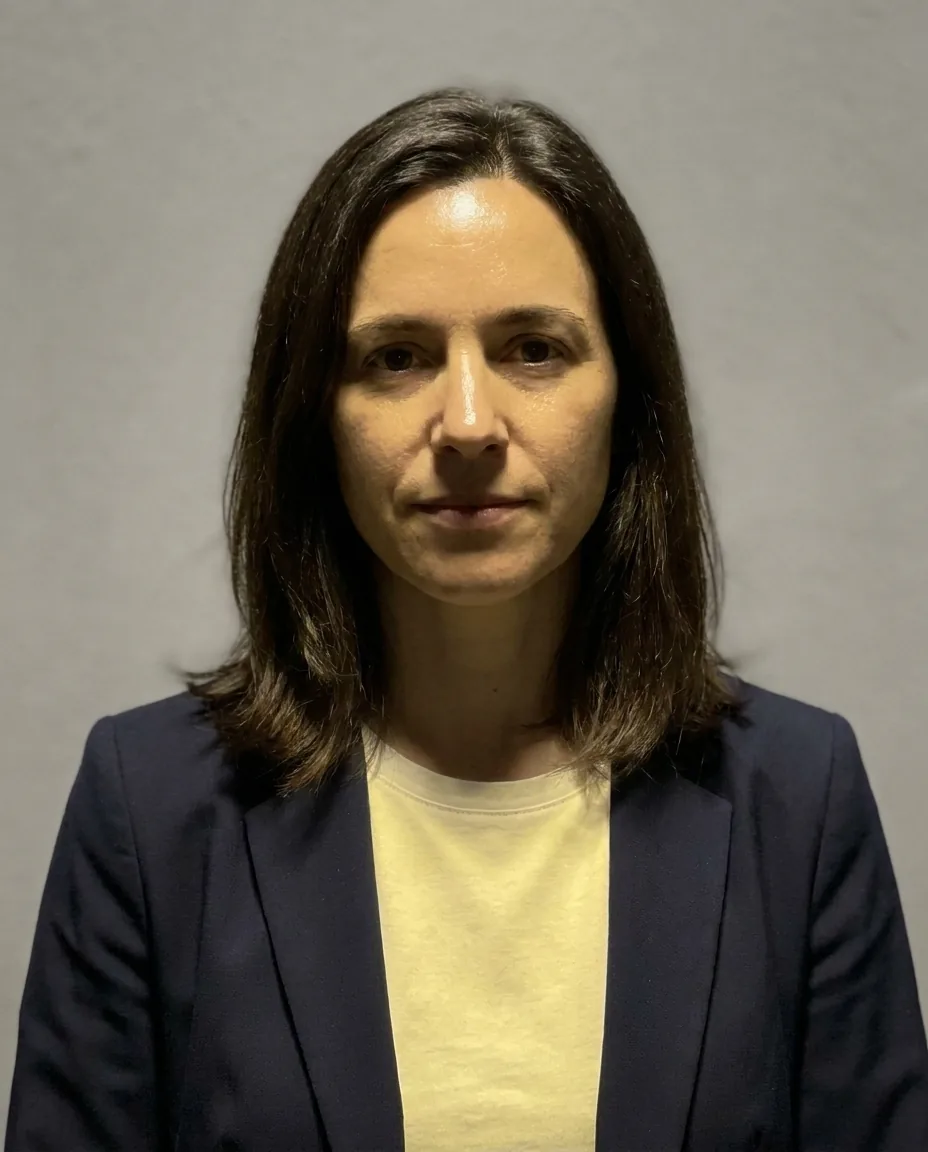
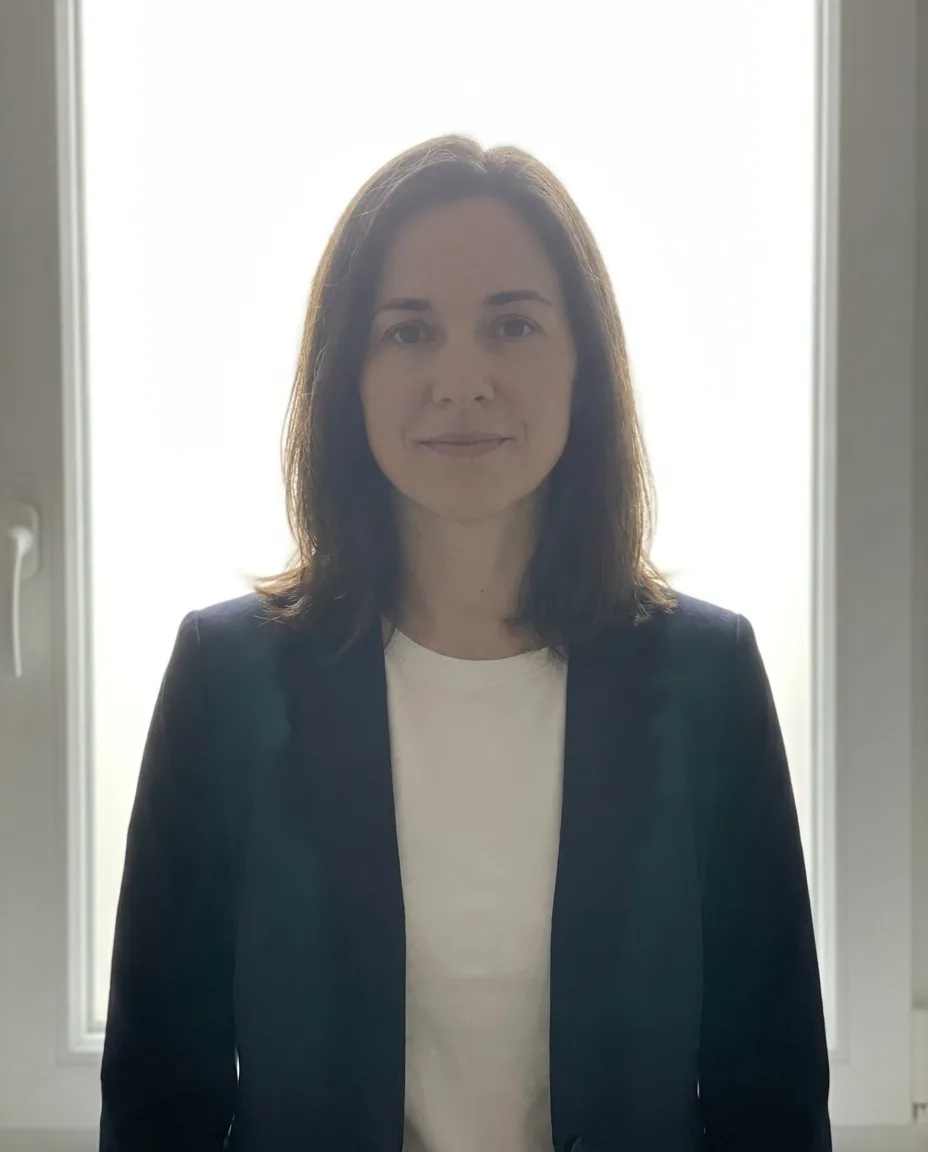
Face a window on an overcast day, or a window that doesn’t get direct sun. Turn off ceiling lights, which put shadows under your eyes, and never stand with the window behind you.
DoWindow in frontEven light, bright eyes.
AvoidCeiling lightShadows under the eyes.
AvoidWindow behindFace goes dark.
How to take a headshot with an iPhone by yourself
Apple Watch: open Camera Remote to see the iPhone’s view on your wrist and take the shot or start a 3-second timer.
Earphones: the volume-up button on wired Apple earphones works as a shutter.
Timer: set 10 seconds in the Camera app, then take several rounds without moving the phone.
Mark your spot: a strip of tape on the floor keeps every round framed the same.
Check the eyes: zoom in on each round and keep only the frames with sharp eyes.
Is an iPhone good enough for a professional headshot?
+
Yes. A recent iPhone in good window light is sharp enough for LinkedIn, company websites and résumés. Use the rear camera in Portrait mode at 2x on a tripod, and keep the background blur moderate.
Should I use Portrait mode for a headshot?
+
Yes, with moderate blur. Portrait mode separates you from the background, but its strongest setting can cut into hair and glasses. After taking the photo, set the depth to about f/2.8–f/4.5 in Photos > Edit.
Which iPhone lens is best for headshots?
+
The 2x option in Portrait mode on most recent models. It flattens features less than the 1x lens. On Pro models a longer option also works if you have room to step back.
How do I take a headshot with my iPhone without someone else?
+
Put the iPhone on a tripod or books at eye level, then use the 10-second timer, the Camera Remote app on an Apple Watch or the volume button on wired earphones. Take several rounds and keep the sharpest.
Can I use the front camera for a headshot?
+
You can, but the rear camera is better: it is sharper and lets you stand farther away, which avoids the wide-angle distortion of a close selfie.
 Avoid
 Do
 Do
 Avoid
 Avoid
 Avoid