Twenty tips that make the biggest difference, in the order you’ll need them: before the shoot, during setup, while posing, and when you pick the final photo. They work whether a photographer, a friend, a phone timer or an AI takes the picture.
By Miu, founder of HeyAIHeadshot · Published October 29, 2026
Most headshots fail for a handful of reasons: bad light, a busy background, a tense pose or a photo that doesn’t look like you anymore. None of them need expensive gear to fix. Example photos in this guide are AI headshots we made to show each point side by side.
Before the shoot
1Decide where the photo will be used
LinkedIn, a company team page, a casting site and a book jacket all want different crops and moods. Pick the main use first; it decides the outfit, background and how formal you look. Not sure what counts? See what a headshot is.
2Choose solid colors that contrast with the background
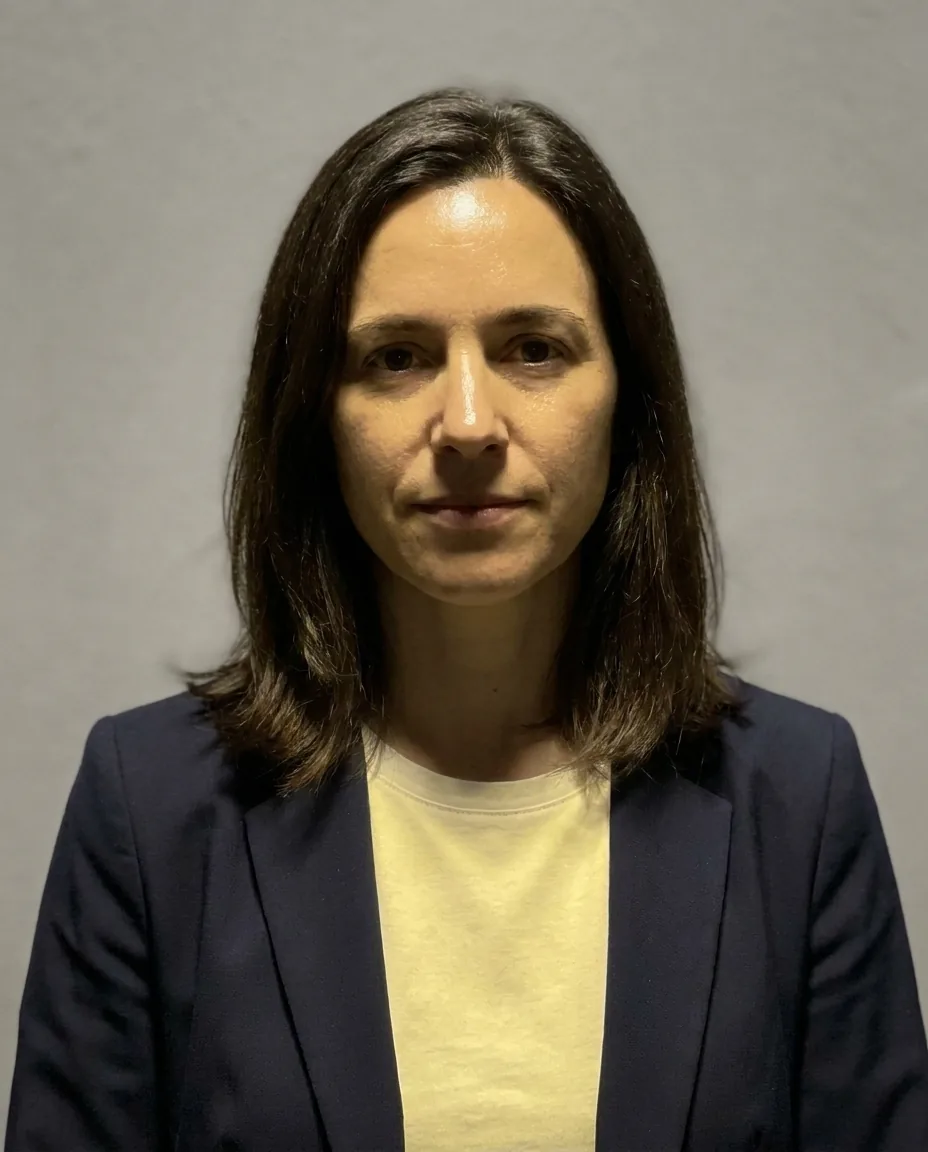
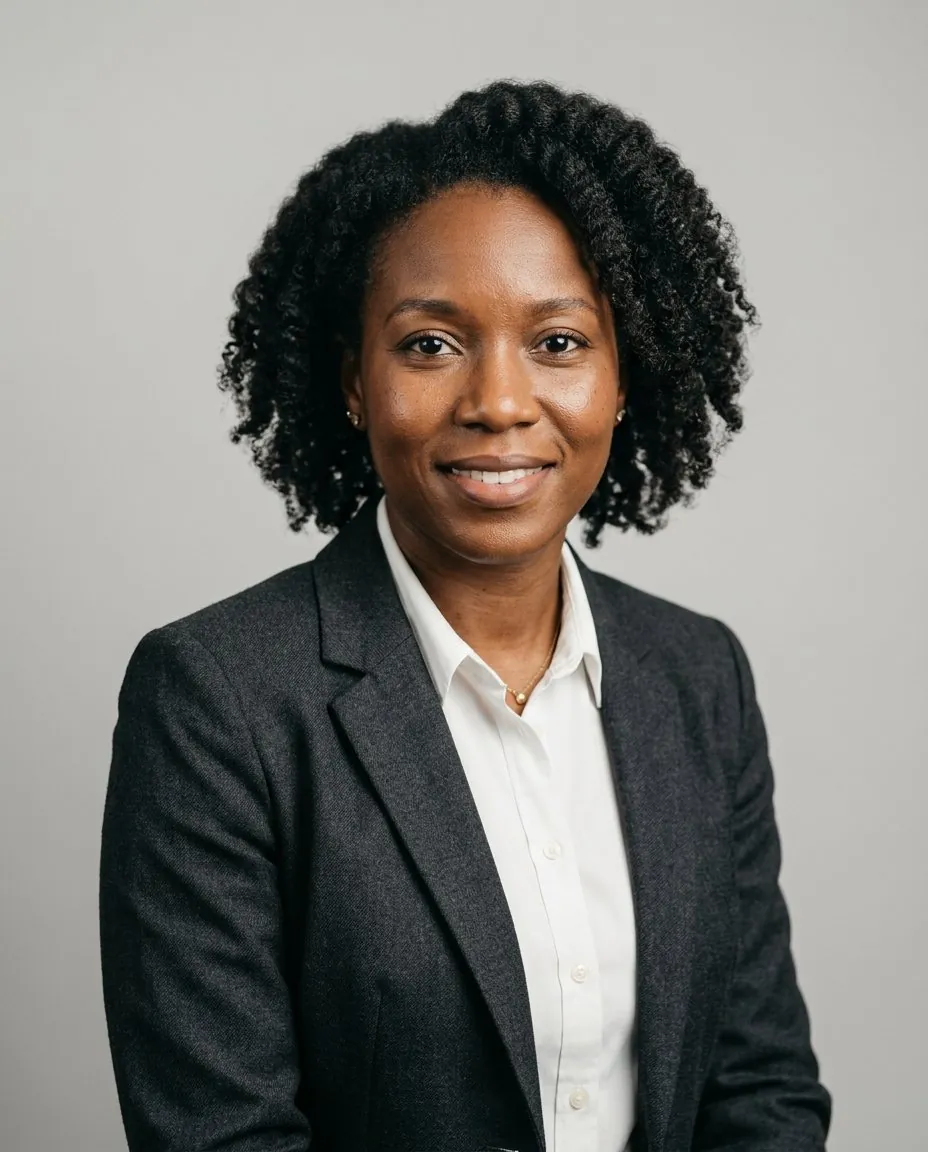
Navy, charcoal, soft blue, burgundy and green work for most people. Skip thin stripes, small checks, logos and neon, and never match your top to the backdrop. Full advice: what to wear for headshots.
3Get a haircut a week before, not the day before
Fresh cuts look sharp-edged and a little unfamiliar. A week gives your hair time to settle into how you actually wear it.
4Sleep, drink water and skip salty food the night before
Puffiness under the eyes and around the jaw shows in a close crop. It sounds small, but it is the cheapest retouching there is.
5Bring a second outfit and your everyday glasses
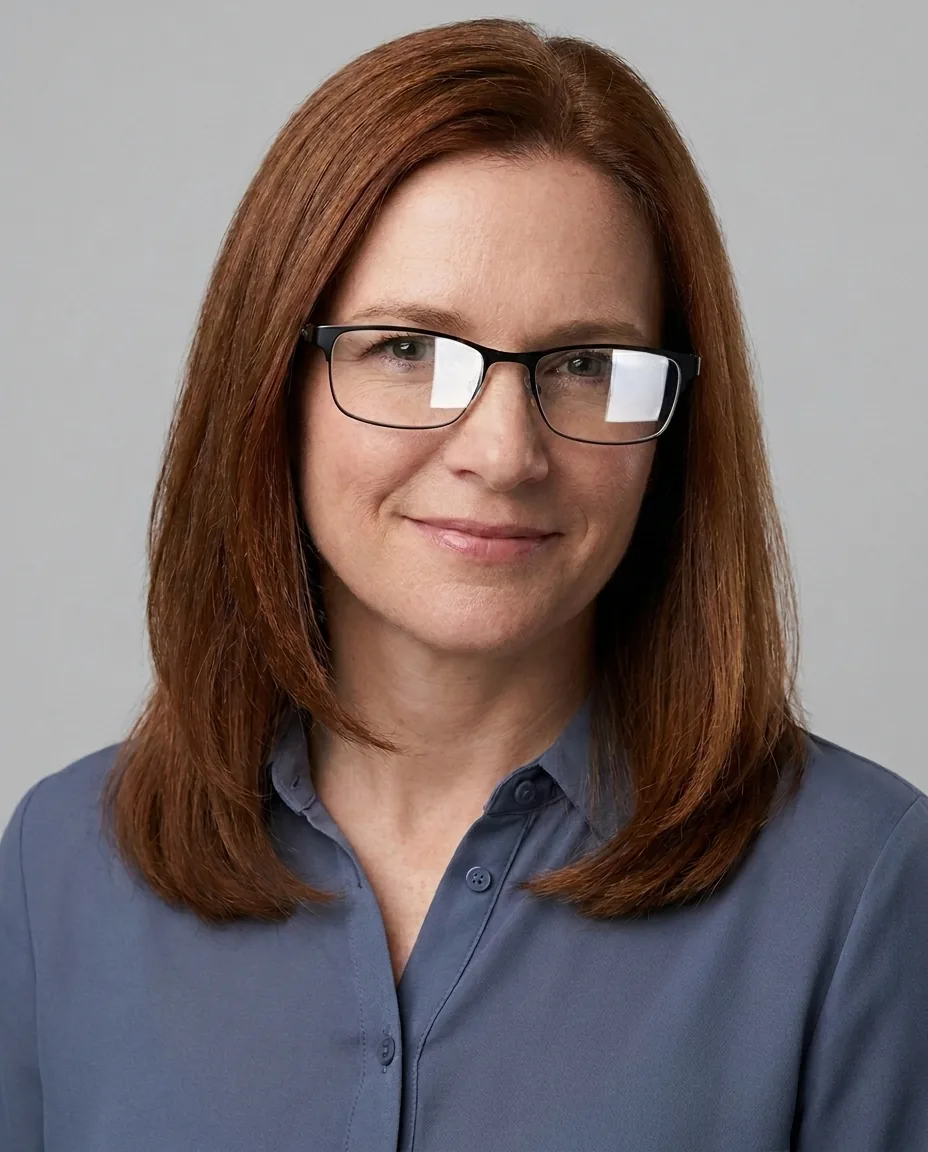
A spare top in another color gives you a choice. Wear glasses if you wear them every day, so people recognize you, and clean them first.
DoSolid blazerContrasts with the gray backdrop.
AvoidThin stripesShimmer on screens and pull focus.
DoClean glassesNo glare, eyes clear.
AvoidGlare in lensesHides the eyes.
Light and setup
6Face soft light from the front
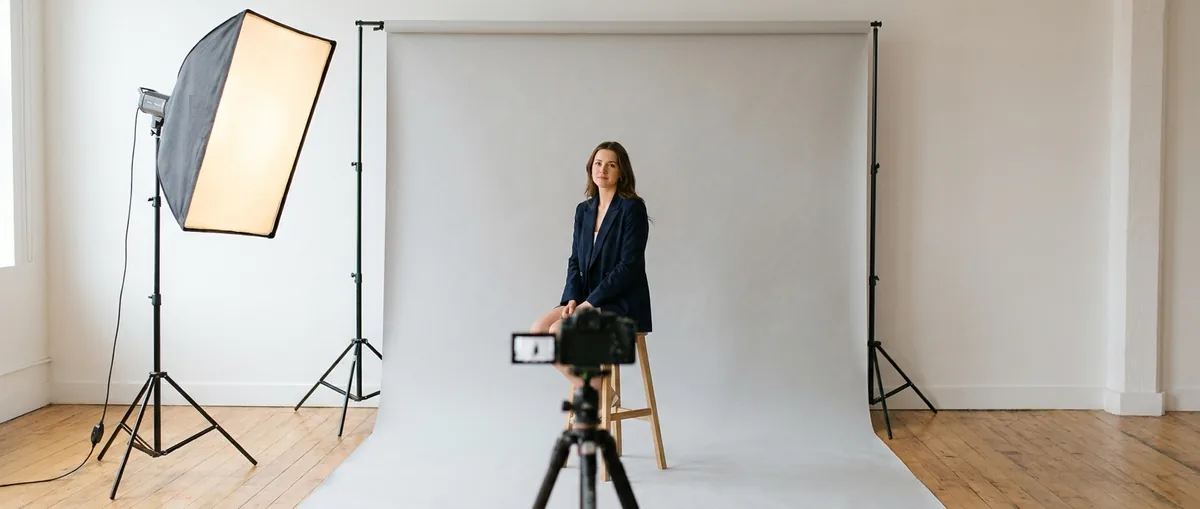
A window on an overcast day or open shade outside beats any ceiling light. Light from the front fills in your eyes; light from above puts shadows under them.
7Keep the background plain and step away from it
A plain wall, gray paper or a softly blurred office. Stand 1–2 meters in front of it so your shadow falls away. Ideas in headshot backgrounds.
8Put the camera at eye level or slightly above
Lower than your eyes and the viewer looks up your nose; much higher and you look small. Stack books under a phone if you have to.
9Use a longer lens: 2x on a phone, 85mm on a camera
Wide lenses up close make noses look bigger. Step back and zoom in. On a phone, the rear camera at 2x in Portrait mode is the easy version. See how to take a headshot at home, or the iPhone settings guide.
10Frame with room to crop
Shoot a little wider than you need, with space above your head and at the sides, so the same photo can be cropped square for LinkedIn and 4:5 for a team page.
DoWindow in frontSoft, even light.
AvoidCeiling lightShadows under the eyes.
AvoidArm’s-length selfieWide lens distorts.
AvoidBusy roomClutter competes with your face.
Posing and expression
11Turn your shoulders about 30°
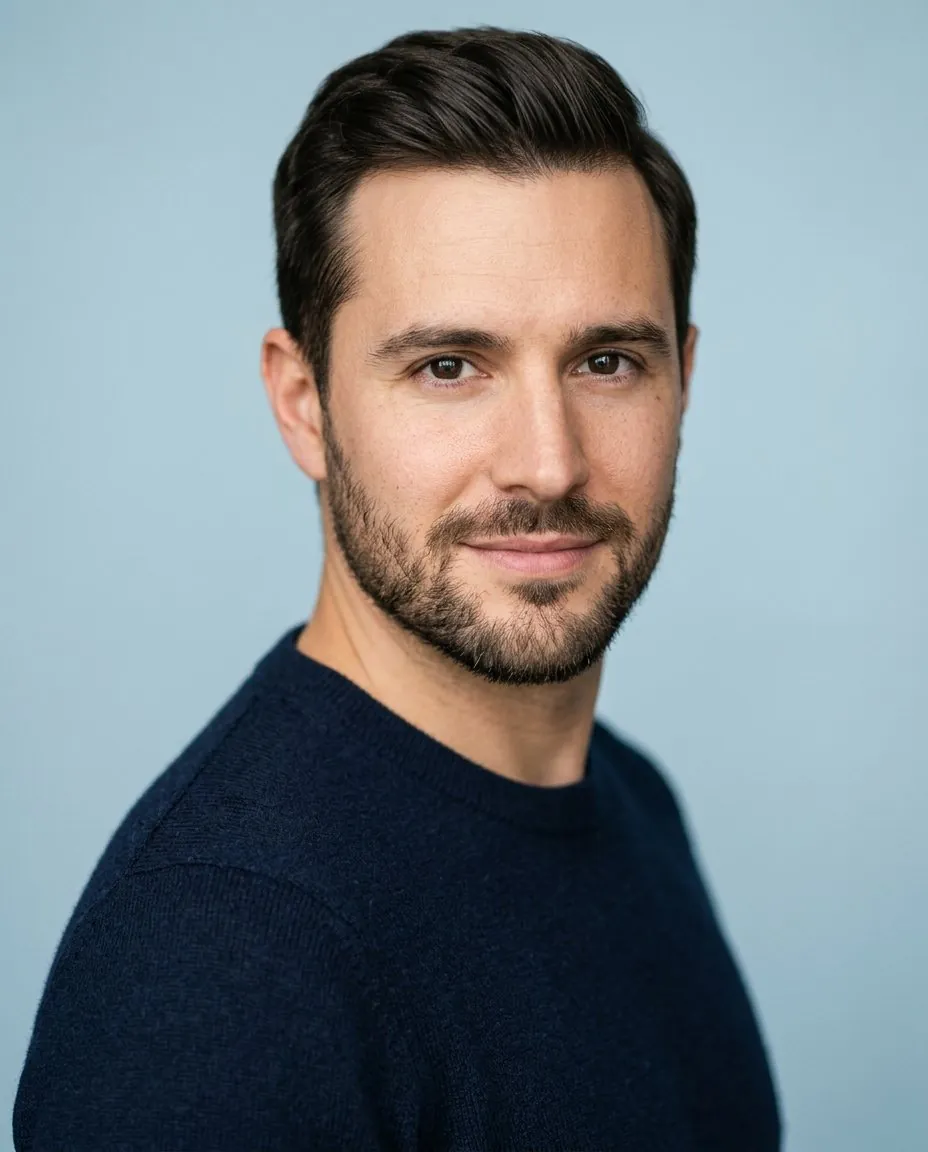
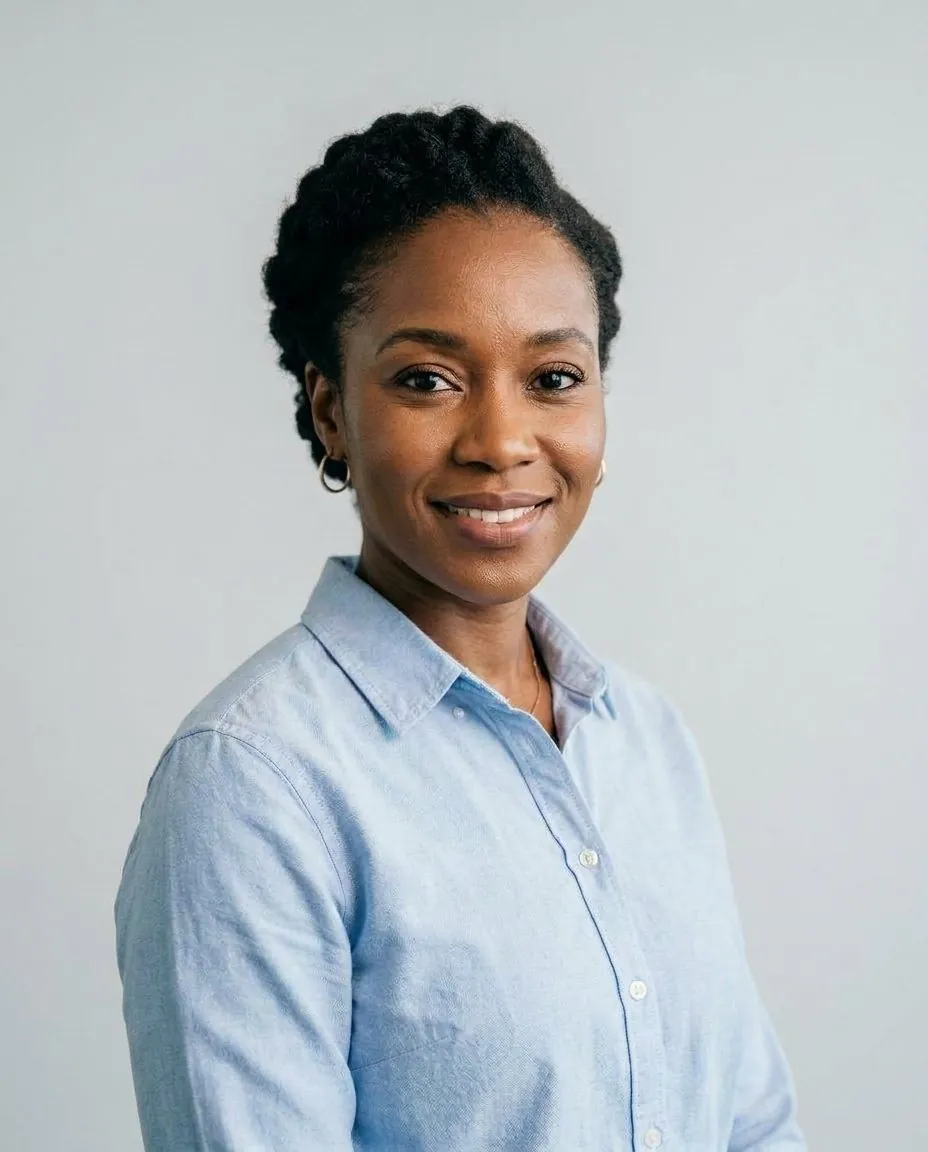
Point one shoulder toward the camera and bring your face back to the lens. It looks slimmer and less stiff than standing square. More in headshot poses.
12Push your forehead forward, then tip your chin down
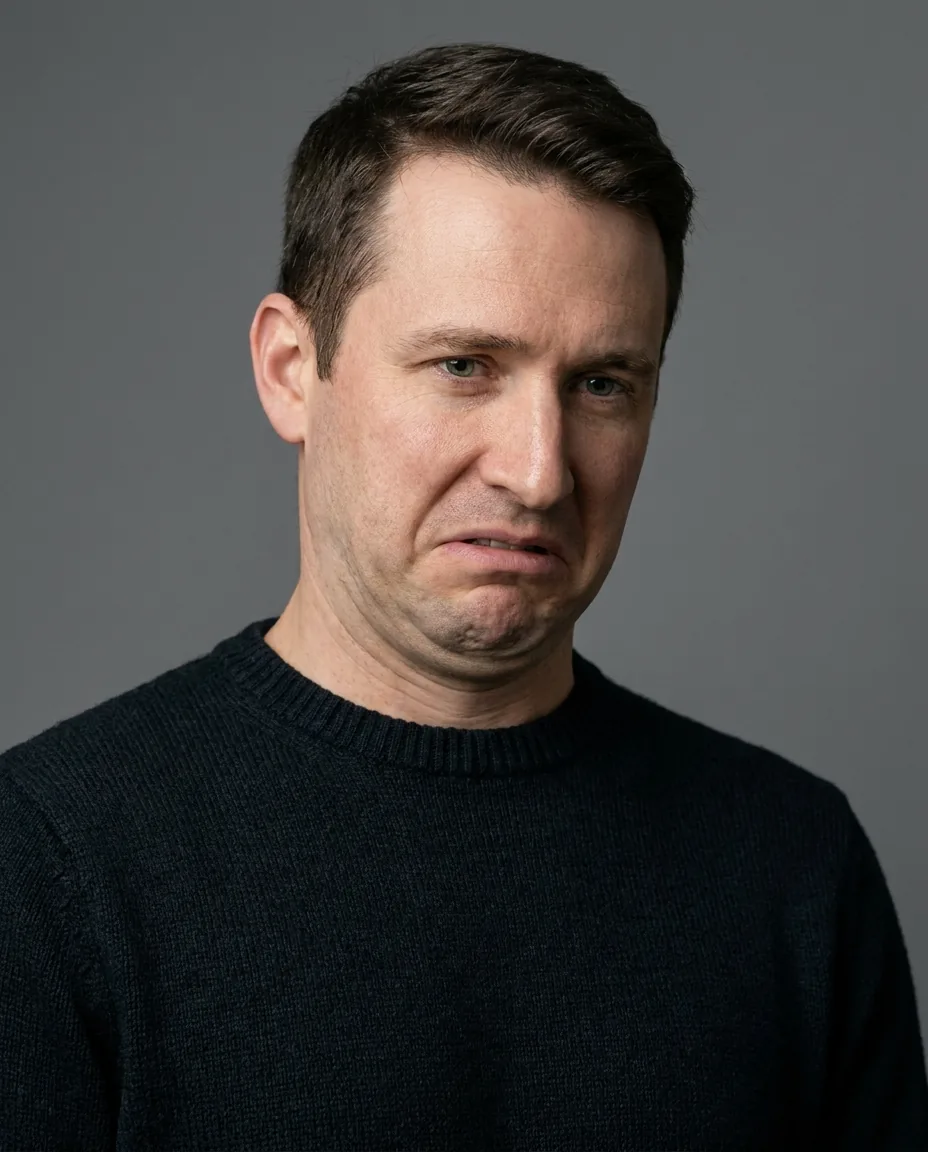
It feels odd but defines the jawline and removes a double chin. Pulling your chin back does the opposite.
13Squint a tiny bit with your lower eyelids
Photographers call it a squinch. Wide-open eyes look startled; slightly narrowed lower lids look confident and relaxed.
14Breathe out, then smile
Hold a smile for more than a few seconds and it freezes. Relax between frames, exhale, think of someone you like, and smile again just before the shot.
15Give your hands a job or keep them out of frame
In a waist-up crop, button a jacket, rest your forearms on a table or put your hands in your pockets. Hands with nothing to do look pasted on.
DoThree-quarter turnThe most flattering pose for most people.
DoChin out and downDefines the jawline.
AvoidChin pulled backCreates a double chin.
DoHands with a jobButtoning a jacket looks natural.
Choosing and editing the final photo
16Choose the photo at thumbnail size
Shrink your favorites to the size of a LinkedIn circle (about 48 px) before you choose. The one that still reads clearly is the one to use.
17Check that the eyes are sharp
Zoom in to 100% on the eyes. A soft background is fine; soft eyes are not.
18Retouch lightly
Fix exposure, color and a temporary blemish. Leave freckles, lines and skin texture, and skip beauty filters; people notice when you don’t match your photo.
19Use the same photo everywhere
LinkedIn, Slack, email, your company page: one consistent headshot makes you easier to recognize across all of them.
20Update it every two to three years
Or sooner after a new haircut, beard, glasses or role. The photo should match the person who walks into the meeting.
DoClose cropReads clearly at 48 px.
AvoidToo far awayYour face becomes a dot.
AvoidHeavy filterLooks fake at full size.
DoLight retouchReal skin, even light.
One-minute headshot checklist
Solid top that contrasts with the background
Soft light from the front, ceiling lights off
Plain background, 1–2 meters behind you
Camera at eye level, 2x zoom or a longer lens
Shoulders turned, forehead forward, chin down
Exhale, then smile; take many frames
Pick the shot that works at thumbnail size, with sharp eyes
Face soft light from the front, turn your shoulders slightly, push your forehead forward and tip your chin down, and breathe out just before you smile. Wear a solid color that contrasts with a plain background, and pick the photo where your eyes are sharp.
How should I prepare for a headshot?
+
Decide where the photo will be used, choose two solid-color outfits, get a haircut about a week before, sleep well and drink water the night before, and bring your everyday glasses if you wear them.
What should you not do in a headshot?
+
Don’t stand under ceiling lights, in front of a busy room or right against a wall. Avoid thin stripes, logos and neon, pulling your chin back, holding a frozen smile, and heavy filters or skin smoothing.
Should I smile in a headshot?
+
For most professional uses, yes. A relaxed smile, with or without teeth, looks approachable. Actors and some executives also keep a neutral version, but relax the eyes so it doesn’t look cold.
Do these tips work for AI headshots?
+
Mostly, yes. For AI the photo you upload matters most: soft front light, a sharp, recent selfie with your face fully visible and no filters. The AI handles the outfit, background and lighting of the final headshot. See how to make an AI headshot.
 Do
 Avoid
 Do
 Avoid
 Do
 Avoid
 Avoid
 Avoid
 Do
 Do
 Avoid
 Do
 Do
 Avoid
 Avoid
 Do